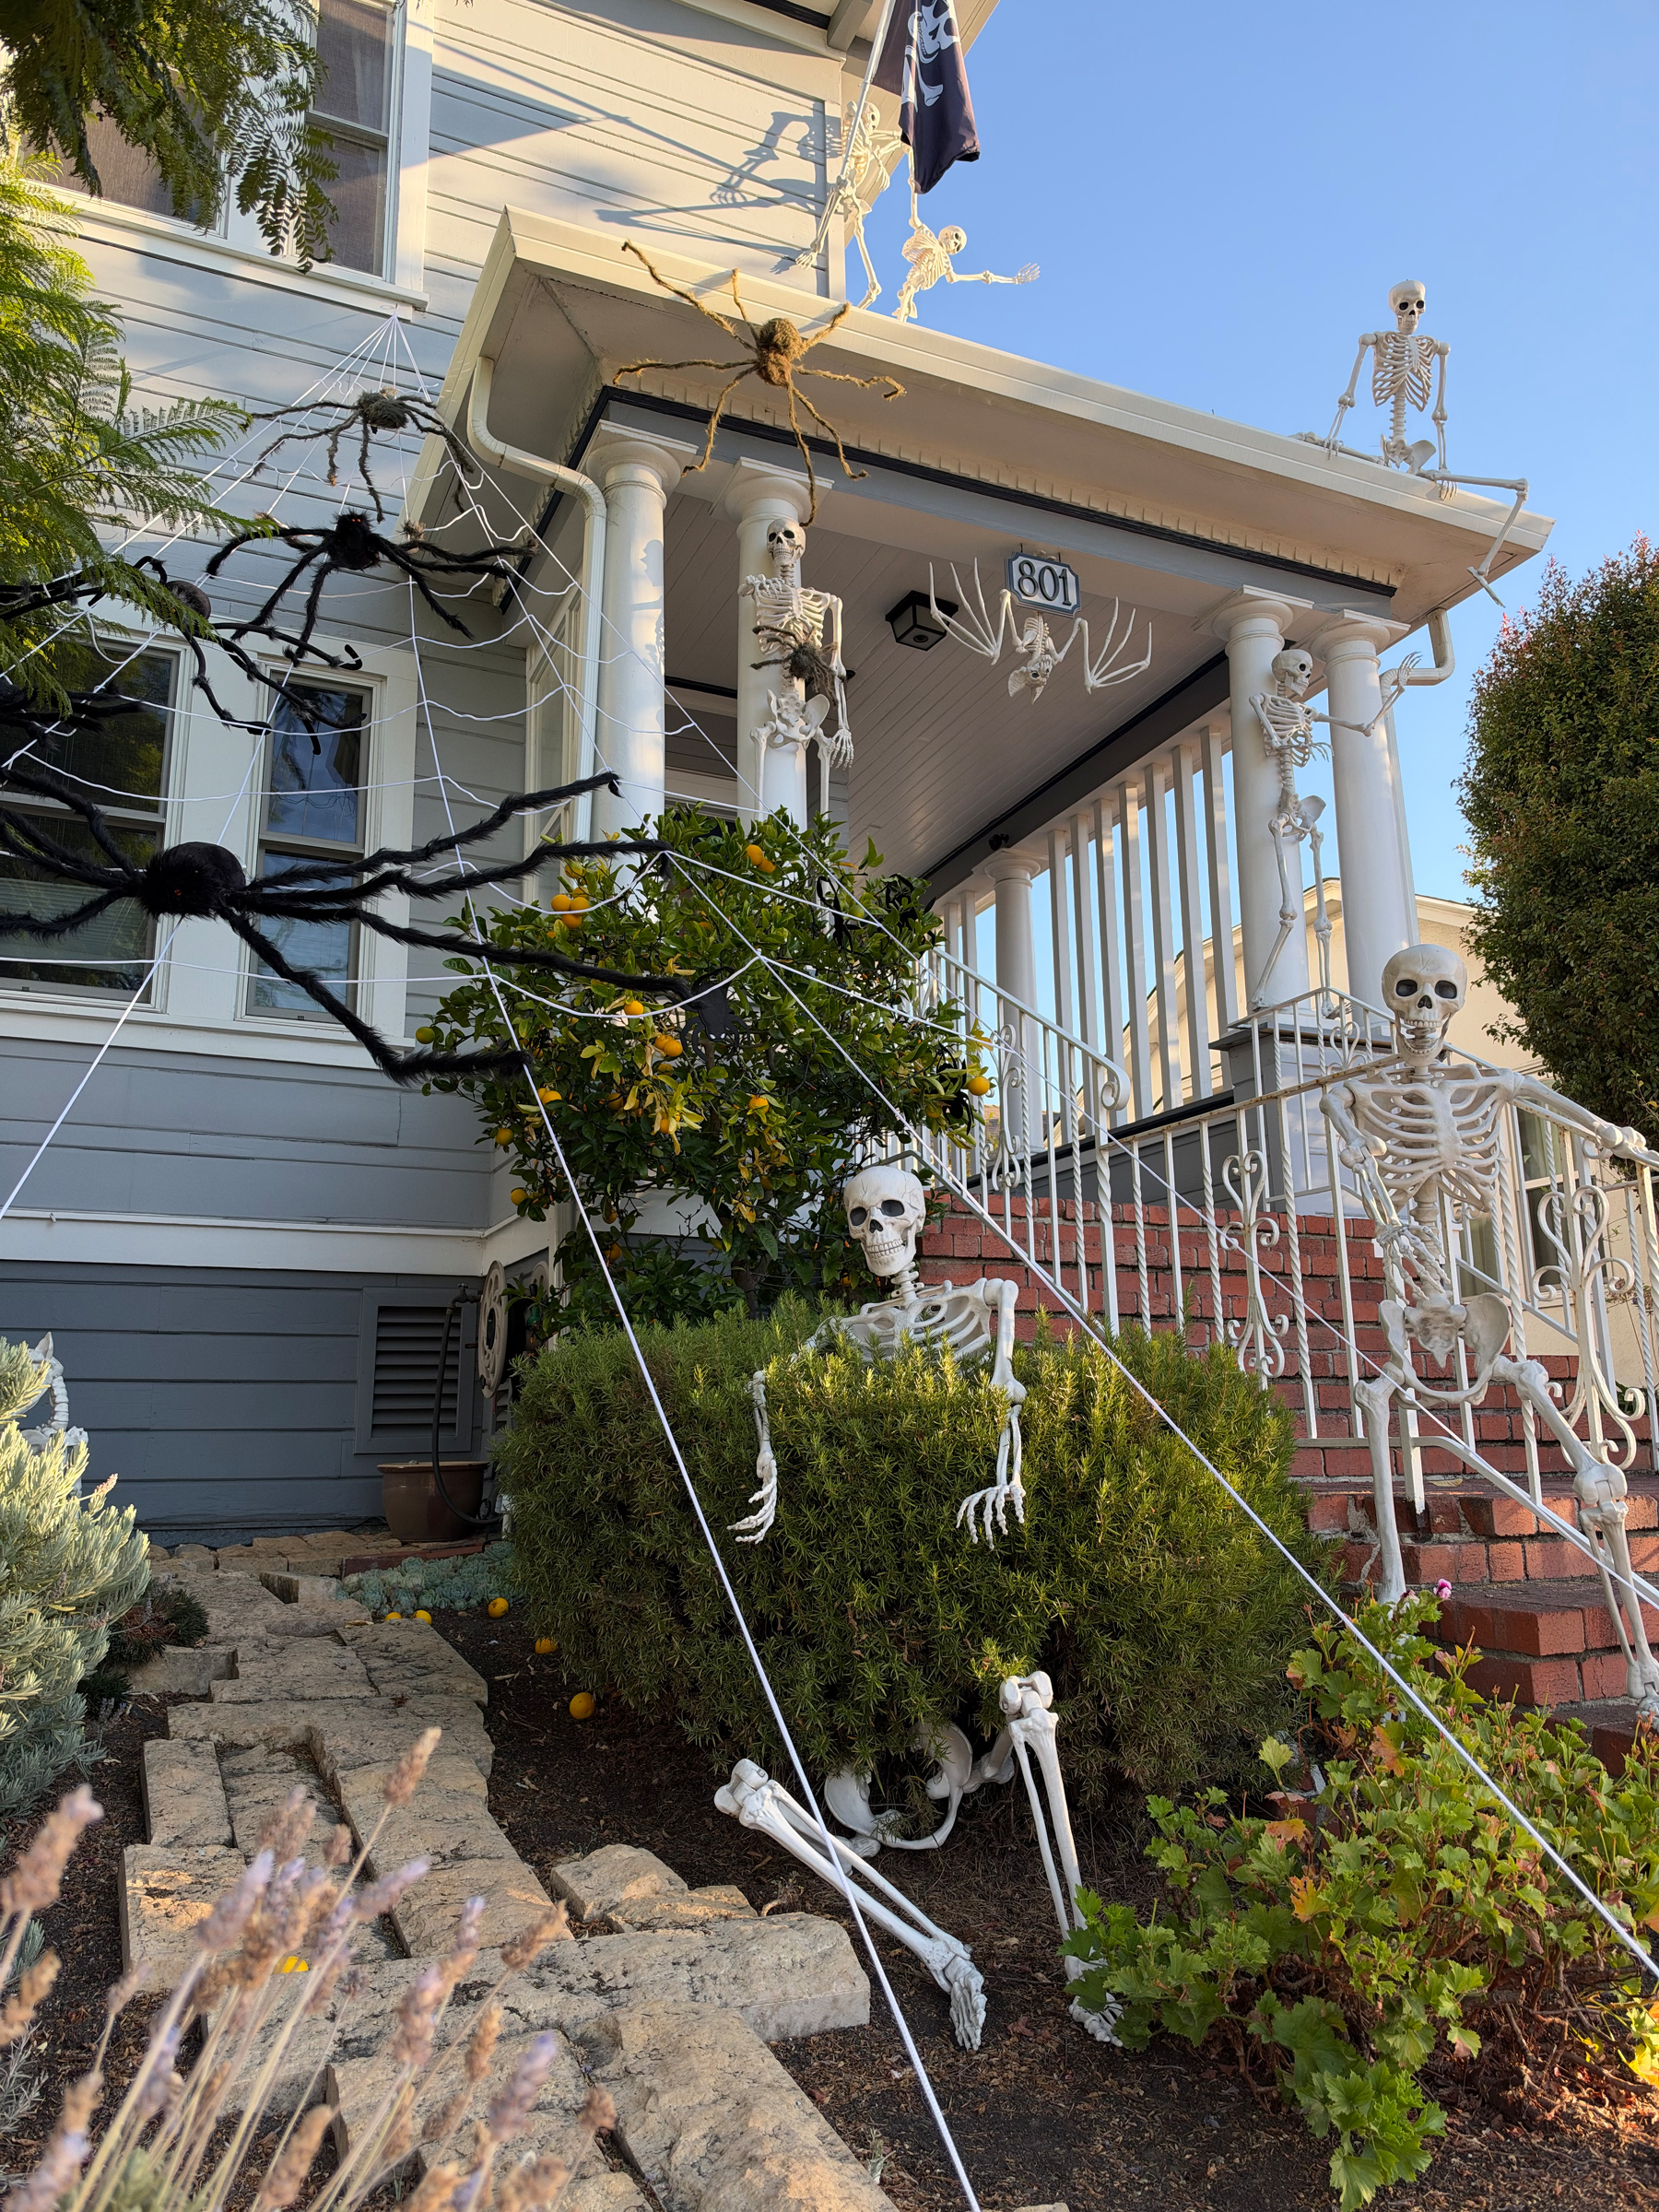
Dear Las Vegas,
This is why we refused to spend a gazillion dollars on buying the Raiders a new stadium.
Love,
- Oakland
PS: Have they started blaming you for their poor record yet? Get ready.
Dear Las Vegas,
This is why we refused to spend a gazillion dollars on buying the Raiders a new stadium.
Love,
- Oakland
PS: Have they started blaming you for their poor record yet? Get ready.
There was a restaurant across the street from city hall. Dad dragged us there all the time, ostensibly because it was cheap, but really because it was always packed and Dad loved nothing better than to hold court in a roomful of people he seemingly all knew.
Today it struck me that we rarely entered through the front door. We’d walk in through the back, weave through the kitchen, and pop into the far corner of the dining room. Then a waitress would notice us and lead us to a table ahead of the long line of people waiting out front.
I swear, my dad wasn’t in the mafia. Looking back, though, I’d love to how this came to be our routine.
ADHD was associated with increased mortality across multiple causes; and ADHD medication was associated with a decreased all-cause mortality risk
Seeking treatment was the best thing I’ve ever done. I wish I’d started decades earlier.
Apple Roils Adtech With Its Latest Privacy Update - Business Insider
“Why do you use Apple stuff?” “This right here.”
The hand-wringing and pearl-clutching of advertisers who worry that they may not be able to efficiently target me is a delight to my soul. Weep those salty tears for me!
I’m surprised to notice that someone updated the goofy IPv8 IETF draft, kicking the dead horse for another 6 months of our amusement.
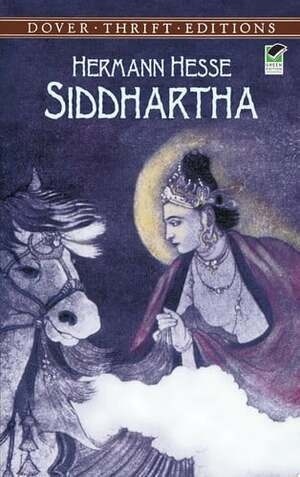
Currently reading: Siddhartha by Hermann Hesse 📚
Katie Zacharia fired after five days as White House press secretary:
Zacharia had a rocky start to her tenure as press secretary, hosting a widely panned first briefing on Tuesday. She had also faced questions over her legal credentials after admitting she did not pass the bar exam.
Not even half a Mooch.
I just finished reading null: $cat /dev/null_ by Dienw Neb. I found an ad for it in the back of 2600 Magazine that piqued my curiosity. I’ve mentioned it here a couple times recently.
If you’re the kind of person who’d be reading these words I’m writing, you’d probably enjoy this book, and you should get your hands on a copy.
I don’t even know where to begin. There’s almost nothing I can tell you about the stories in it that wouldn’t spoil it in some way, and it’s far too good to take that away from you. Instead, I’ll talk about how it made me feel.
This book was made for me, personally. It could’ve been, anyway. It’s about me and my friends, hanging out in dodgy clubs, or rough parts of town, or late into the night on IRC, or in roomfuls of LAN party networks. Characters are arguing about the same stupid things we argue about. They troll each other in the same ways. People stick their head in to listen, catch a couple of sentences out of context, and nope out before they accidentally hear more. “Breathtaking” is usually hyperbole, but “Null” left me staring at a page, reading and re-reading it, breath held in wide-eyed wonder, at the magically realistic version of my youth on the page. Several times. It hooked me like few things ever have. If “Neuromancer” was the world I didn’t want, and “Snow Crash” the world I almost kind of wanted in spite of myself, “Null” was the world I’ve lived and breathed — but just foreign enough to remind me I was an outsider looking in.
And wow, is it different. If parts of our reality were embedded in “Null”, they were little bubbles of familiarity in a universe that’s fundamentally different in unspoken though almost tangible ways.
However, it’s not weird for the sake of being weird. I laughed out loud. Not a silent LOL that everyone knows is really a silent, tight-lipped fleeting grin. Actually out loud. I choked back tears during my morning commute. I closed my eyes and let my mind savor the poignant beauty, awed by the shared humanity of people in a timeline I wasn’t intended to fully understand. It’s a Moonlight Sonata, stunning and strange and haunting and sensuous.
This is not a book for everyone. Yet here you are, somehow in the placetime to be reading the random things I send to a screen. We likely have some life experiences in common, you and I. That means “Null” was made for you, personally, too. It’s inexpensive. Get a copy. When you’re done, please let me know. I’m dying to discuss this with someone.
PS: I think it’s base64. Let me know if you get further than that.
Unacceptable: Apple Health Sync is now behind a $99/year paywall for new accounts:
What’s changing for new members: for accounts created from October 13, 2026, automatic sync to third-party apps is part of Withings+.
Add Withings to my personal boycott list. If they’re gouging new customers today, I predict that within the year they’ll also charge existing users who purchase newly-launched devices.
They’ll never see another penny from me.
Lots of my neighbors are super into holiday decoration, and I’m here for it.